DIY, say whaaa?! But, my friends, I present to you my newest brain-child that I literally just finished. I'm pretty excited, if you can't tell. And if one of you pins this on pinterest, I might just scream for joy. (Disclaimer...all photos taken with my phone...)
 |
 |
| Gather: Black acrylic paint ($0.59 at Michaels!) Double-sided tape Scissors Sponge/paintbrush Wrapping paper Mod-Podge (optional) Also: Ruler to cut your paper |
 |
| ...and a bulletin board. |
 |
| Step 1: Paint the edges of your cork board. Repeat coats until fully covered. (Acrylic paint dries super fast!) |
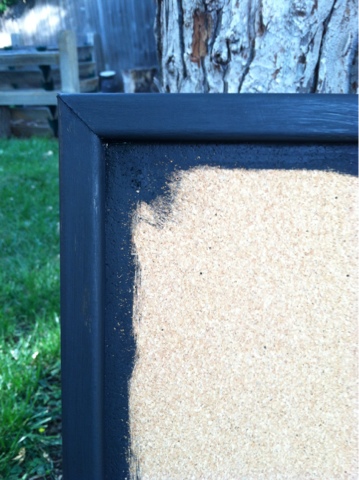 |
| ...and about 1/2-1 inch into the cork to make it more seamless. Apply mod podge, if desired, to make it shiny. |
 |
| Step 2: Take random pictures of the summer evening behind you. |
 |
| Step 3: (sorry, no pictures) Measure and trim a sheet of wrapping paper to fit snugly in your board; apply double-sided tape to corners and edges of cork, then carefully press the paper to the tape. |
 |
| Step 4: (boy, I stink at taking accurate step pics) Push thumb-tacks into the pattern, however many you'd like, to make little hooks for your jewelry. |
 |
| Done! Hang your creation and add jewelry to your delight. |

1 comment:
Super cute jewelry board! It looked so much fun to make. And it even matches your bed sheets! You should become an interior designer. :) that'd be really fun to do your whole life! you seem good at it!
-melissa
hellomissa.blogspot.com
Post a Comment